

When you create a project, you can use the guidelines to align elements, if you have a specific placement for them. On the other hand, it would be more complicated if you want to space them evenly. But with PaintShop Pro, there are some tools to make the process easier.
Before version X4
In old versions of PaintShop Pro, the option to align objects was limited to vector objects. If you had elements on raster layers, you had only the guidelines at your disposition to line up the elements.
Version X4 and up
When version X4 came out, you were able to select more than one layer at a time, holding the Ctrl key. In that version too, came the option to apply the alignment commands to raster layers. Those commands are available under the Objects menu.

Top, Bottom, Left, and Right
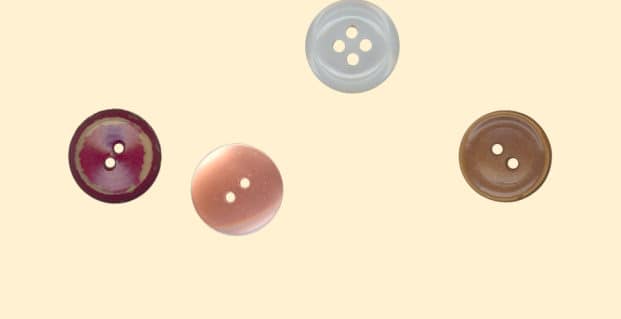
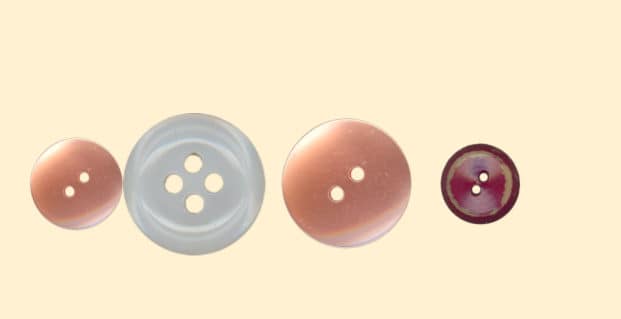
What are those options? You might think they would align with the top, bottom, left, and right of the canvas, and you would be partially correct. If you have a single layer active in the Layers palette, the element on that layer will align with the edge of the canvas. Let's look at these buttons, each on a separate layer.

If the layer for the white button is active, and I select Objects > Align > Top, this is what will happen:
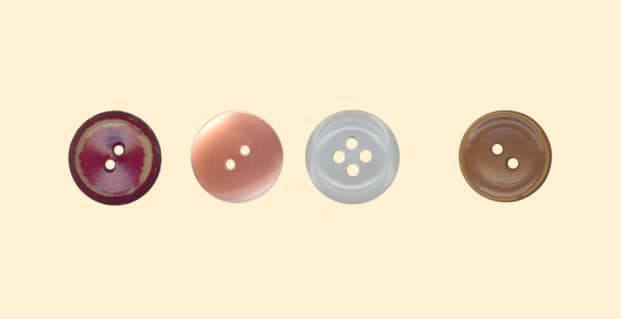
On the other hand, if all four layers are active, and the same command is applied, this is the result we will get.
What does it align to?
One interesting particularity with this command is figuring out what element will be used to align the others. You might think that it would be the one that appears on top that will get the others to align. Or maybe the element on the topmost layer will lead the way. Actually, there is a little hidden "function" in this command. In order to select multiple layers (using the Ctrl key), whichever was the FIRST layer selected, will be the one that will serve as the guide for the others. Isn't that interesting?
Different size?
If the elements are of different sizes, they will still align based on the direction you pick.

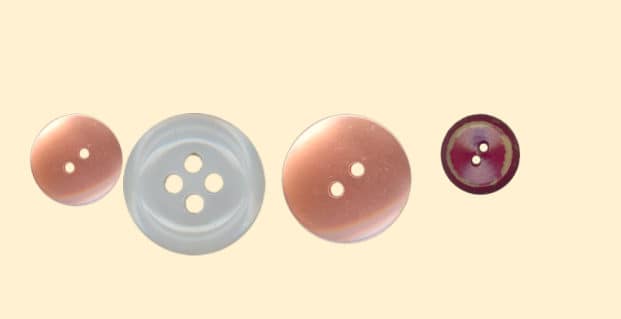
For example, aligning based on the Top will give this result (I selected the white button layer first).
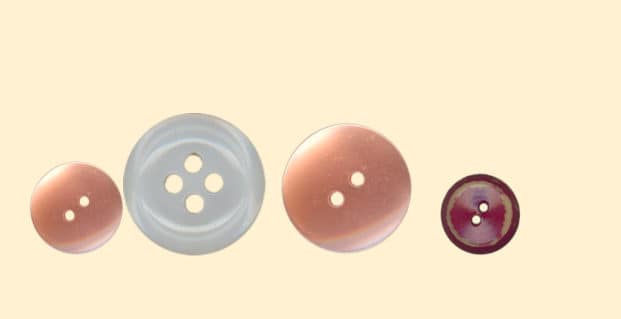
Aligning to the Bottom would give this result:
And if I picked Vertical Center, I would get this arrangement:
Although all the examples above are aligning elements horizontally, I would get a similar result if I selected Left or Right, although, in this case, they would overlap each other.
How about spacing?
Although alignment can be replicated easily with guidelines (if you have an older version of PaintShop Pro for example), spacing them is much more complicated. But now, you can space your elements very easily with the Distribute command (which is also under the Objects menu).
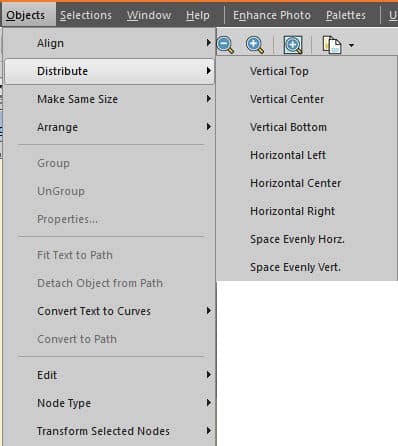
Let's place some lines across the center of the individual buttons (and yes, I used the Align > Horizontal Center to align them).

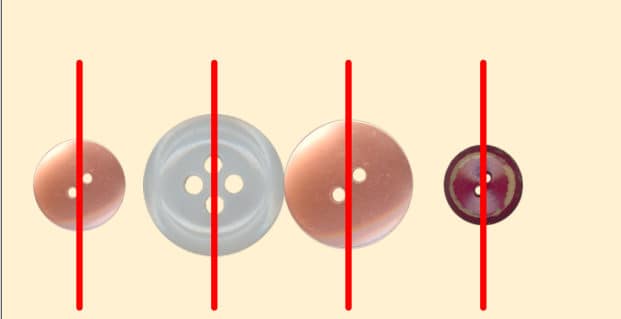
If I choose Objects > Distribute > Space Evenly Horizontally, I will get this:
 Is that what you would have expected? The elements are spaced evenly based on their center point. Notice also that it shows even spacing based on the width of the canvas. Let's try a different setting. Let's use Objects > Distribute > Horizontal Center. Here is what we would get.
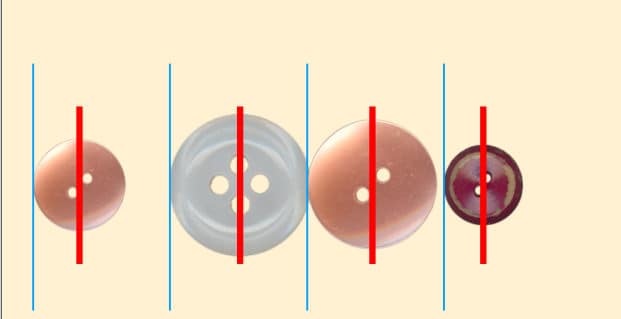
In this case, the left and right elements were used to calculate the spacing of the other two. This is great if you want your elements in a particular area and not spread over the whole width.
Let's look at another type of distribution. If I choose Objects > Distribute > Horizontal Left, all the elements will be spaced based on their left edge.

At first glance, it might not look like it is very evenly distributed, but let's place lines on the left edge of each element.
Do you see how the left edges are evenly spaced?
Of course, all this aligning and distributing might not look as great as we would want when using elements of different sizes, but if they were all identical, the end result would be much more eye-pleasing.
How will you align and distribute your elements?


3 thoughts on “Aligning and Spacing in PaintShop Pro”
Merci Carole pour cette leçon intéressante
The align command I use frequently but not the distribute! Now I know what to expect of that command and will try to use it when needed. Thanks
Thank you for this great lesson!