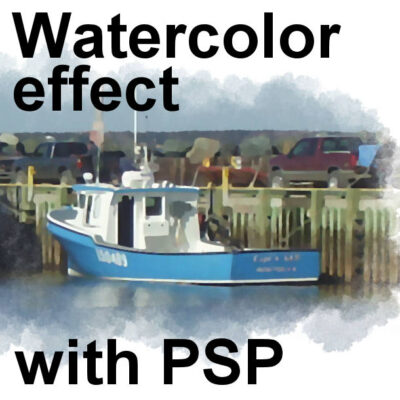

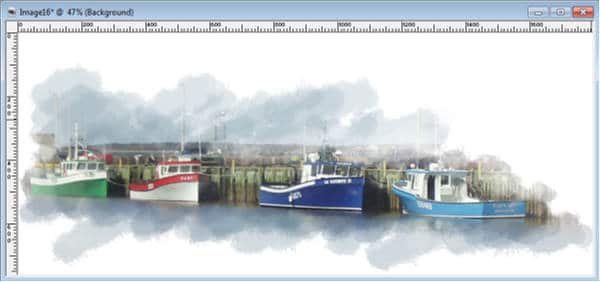
The main characteristics of watercolor image include a semi-translucent color, an unevenness of the “brush strokes”, and often fading edges instead of definite ones. Let's see how you can recreate that effect with PaintShop Pro.
Watercolor brushes
In order to create a watercolor effect, you will need some watercolor brushes. If you check online, you will find a variety of free brushes, although they are mostly for Photoshop. No problem. If you are using PSPX5, you can import them directly into your PSP. If you are using another version of PSP, you can still convert them easily using the tutorial available in the Tips and Tricks section of the Campus, here.
Here are a few places where you can find watercolor brushes:
http://fudgegraphics.deviantart.com/art/Watercolour-Brushes-Set-1-86920620
http://fudgegraphics.deviantart.com/art/Watercolour-Brushes-Set-2-86922467
http://www.brusheezy.com/brushes/1792-free-hi-res-watercolor-photoshop-brushes
http://www.premiumpixels.com/freebies/28-high-resolution-watercolour-brushes/
http://www.bittbox.com/freebies/free-hi-res-watercolor-photoshop-brushes-set-ii
Starting with your photo
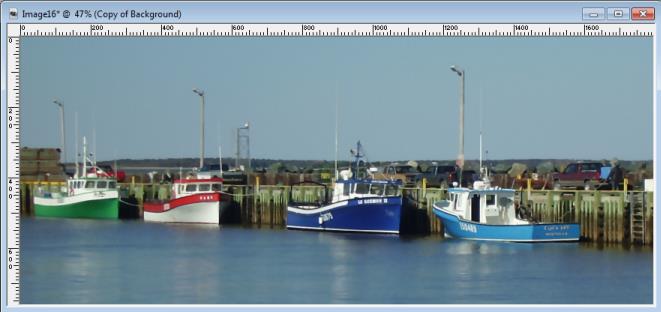
This is the photo that will be used to illustrate this technique. It is 1800x850 pixels in size.

As for any other technique, duplicate your image so you will keep your original untouched. Duplicate your background layer with right-click > Duplicate. Hide the Background layer for now. You might use it later but for now, you don’t want to see it.
Watercolor projects don’t need to have too many details so we will also apply the Edge Preserving Smooth effect to our duplicate layer. Choose as high a value as you can.
Working with a mask
At this point, you will add a mask layer. Go Layers > Add new mask layer > Hide all. This will add a black mask just above your smooth layer, inside a group. Here is what you should see in the layer palette:
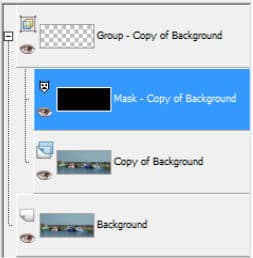
The black layer is what is currently covering your layer. In your image, you will not see anything for now.
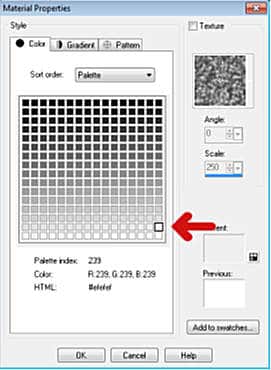
While the mask layer is active, you will choose a foreground color that is off-white. If you click on the materiel palette foreground swatch, you will see this set of greyscale colors appear. This is the color I chose.
Choose your watercolor brush.
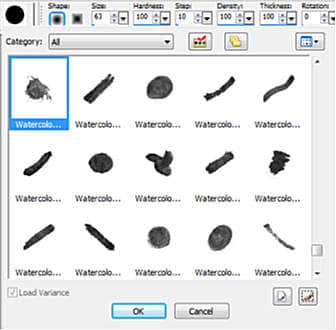
Use the following settings:
- Size: adjust to the size of your project
- Step: about 10. Less than that and the brush will seem sluggish.
- Opacity: 30
- Blend mode: normal
- Continuous: unchecked
- Wet look paint: unchecked.
![]()
The Brush Variance Palette
Another setting that will be very important is the Brush variance (F11). With this palette, you can make sure that the brush impressions will not be too even and just look like stamping.
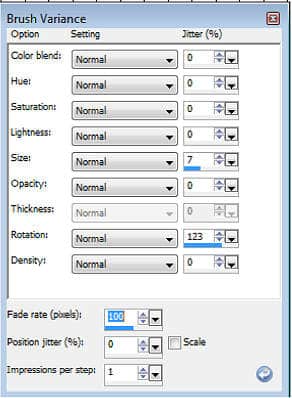
The two essential options to set are the Size and the Rotation.
You want a little variation of the Size, so you can choose a value between 5 and 10.
You want your brush tip to rotate all around so pick a large enough value, like 100-150.
Make sure the setting is Normal.
Let's paint!
Now, you are all set for the painting! On the mask layer (the black one), start doodling where you want the picture to appear. You will probably not want everything to appear on your image so start wherever you want. The first strokes will be faint but you should be able to see, more or less, your image.
As long as you hold the mouse button and brush, the opacity will stay the same.
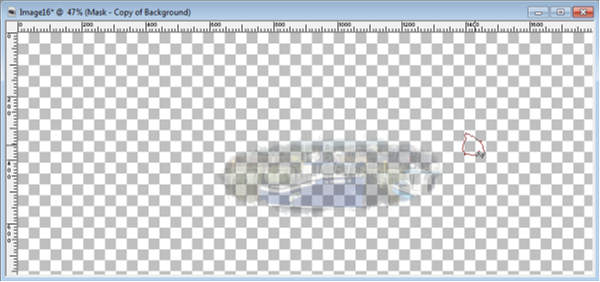
Once you let go of the mouse button and click again for another brushing, you will see the colors becoming more and more opaque as you click more often.
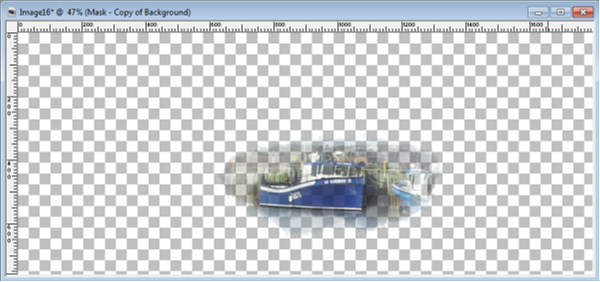
You can brush once on the edges, and brush more toward the center, or brush more on the main subject of your photo.

One nice result of this technique is that you can focus on some parts while leaving others almost out of the picture. Notice how the vehicles on the wharf are much less obvious while the boats are really standing out.
Wherever you want to emphasize, you can do so. It does not have to be in adjacent areas either.
Once you are happy with your water painting, you can right-click on the top layer (just above the black mask layer) and Merge > Merge Group. Depending on what you want to do with your image, you can save it now, as a png format so you can copy and paste it onto something else and you will keep the transparency, or you can merge all to flatten the result. Obviously, at that time, you will get a white background, which might be great if that is what you want.
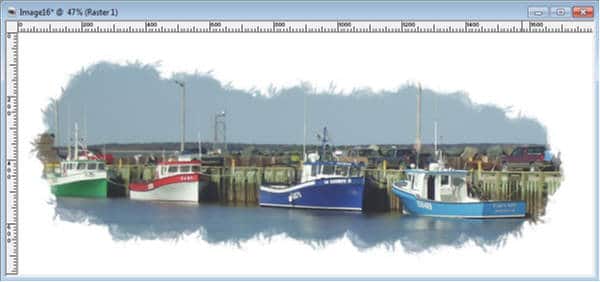
Using the same base technique, you can change just a few settings and end up with different results. For example, I changed the setting for Continuous to Checked, and changed the opacity level to 85. This would give an even opacity (no successive layers).
-----------------------------------------------------------------------------------------------
This tutorial is an excerpt from the guidebook that accompanies the Photo-Graphics Master class, available inside our DIAMOND membership. Join now, and you can access more than 100 classes on various topics using PaintShop Pro.


6 thoughts on “Create a watercolor effect with PSP”
Thank you for explaining this technique. I will try this today!
This tutorial makes a beginner like me look like a pro! I love this.
I have used this technique from the Photo-Grafics Masterclass in combination with the sketch technique and it gives a really unique result.
Corrie, is there a “sketch” tutorial too?
In the Photo-Graphics Master Class, there is one.
I like this tutorial very much.