

When PaintShop Pro 2022 was released, so were some new functionalities. Among them was the Frame tool. What is it, and how does it work?
Where is it?
You will find the Frame tool added to the set of tools, on the left (by default). If you are using the Complete workspace, you will find it here:
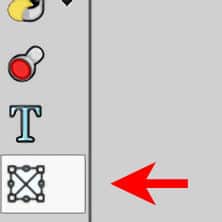
On the other hand, if you use the Essential workspace, it won't be there initially, and you will need to retrieve it by clicking the + sign and scrolling to the Frame tool.
What does it do?
The Frame tool will allow the user to create a simple and quick frame, that is either elliptic or rectangular, on your project. You can find the basic shape to select, on the toolbar once you activate the Frame tool.
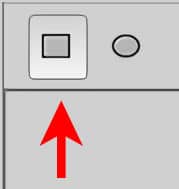
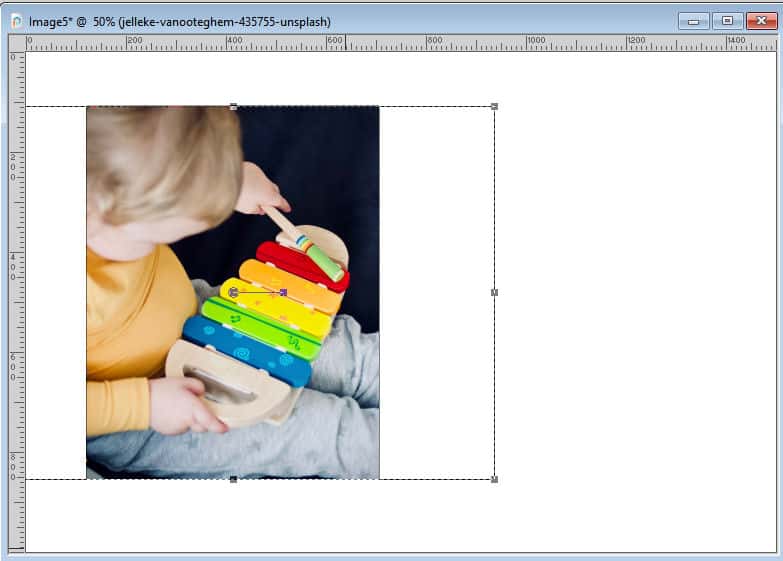
Once the shape is selected, create that selection on your image, where you want it, and in the dimensions you want.

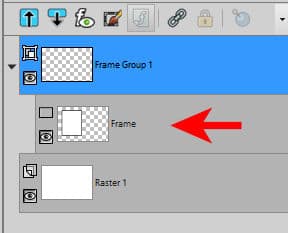
You will see, in the Layers palette, that the frame layer will be created in a group, similar to a mask layer.
At this point, you need to add your image so it shows up within that frame. You will be able to do that with File > Embed image...
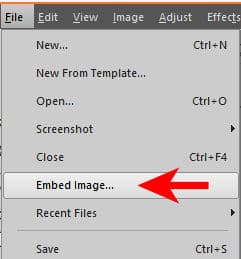
From there, you navigate to the image you want to display. Once the image is selected, the program will copy it in that group and resize it to fit the frame.
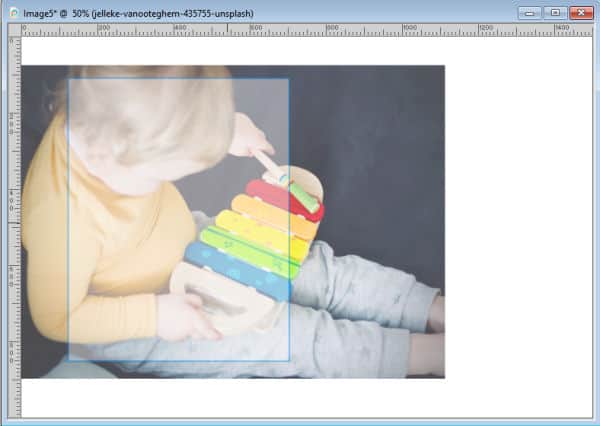
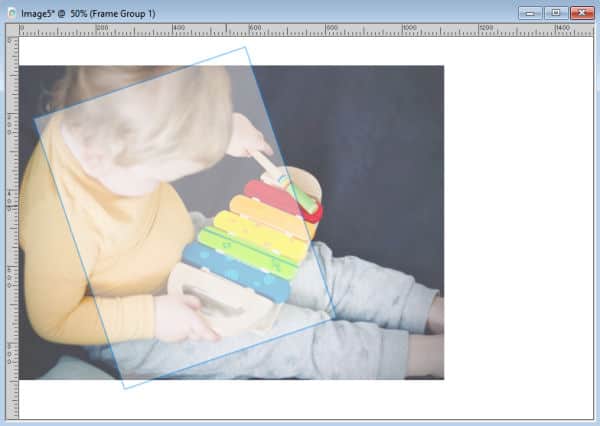
In this example, the frame was vertical while the photo was horizontal. This means that the program adjusted the height to the maximum of the frame. Using the nodes visible, you can adjust the size and the placement of the photo. You can also rotate it using the center handle, if you want. While you are moving or adjusting your photo, a translucent version of your photo will be visible to help you make the correct modification.
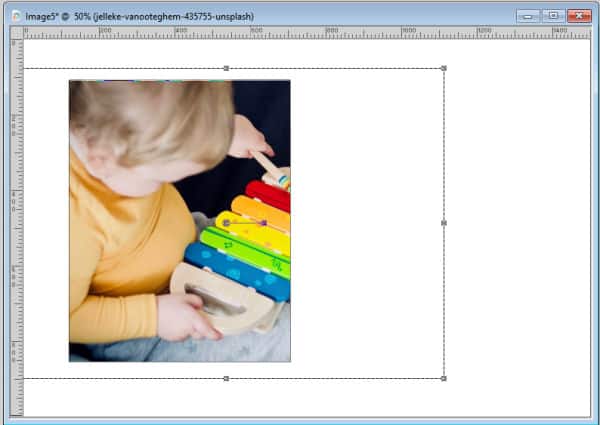
Once you let go of the cursor, your photo will show as intended.
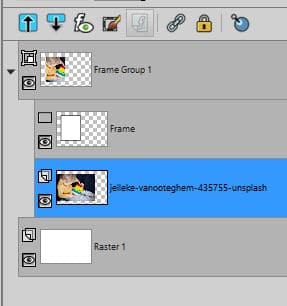
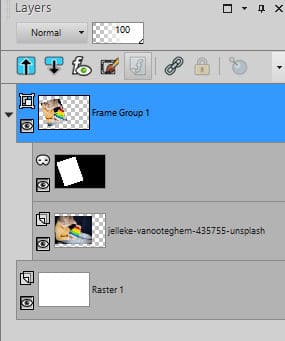
If you check in the Layers palette, you will see a familiar-looking group of layers: the frame layer and the image underneath.
Can you modify the frame?
Yes. Simply reactivate the Frame layer in the Layers palette, and the nodes will appear around the frame. Use those nodes to resize, change the dimensions, or even rotate the frame. Just like in the example above, while you are in the process of modifying the frame, the photo will appear in transparency so you can more easily adjust the frame.
Once you let go, the image will show normally inside that frame.

Warning about saving
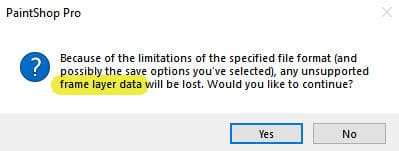
Since this feature is currently exclusive to PaintShop Pro 2022 and up, if you save your work in a compatibility mode that is older than for PSP2022, you will get a warning message like this:
You might have seen similar warning messages about vectors and chose to ignore it. In this case, what happens is that you WILL lose the Frame layer. Lucky for you, you will not lose your work. In fact, the Frame layer will then be converted to a Mask layer, which will work in a similar way. This will happen even if you reopen the .pspimage file in PSP2022. It will depend on the compatibility mode.
This conversion makes sense since previous versions of PaintShop Pro could not handle that new Frame layer, so the Mask layer is the closest option, and at least, it is still working fine for you.
This new tool will be great when you want to create a card, or a quick collage without actually cutting your photos. Go and give it a try! Remember that you can show us your result in our forum!
With PSP2023, the Frame tool allows other shapes. You can now use any shape that is available as a vector: symmetric shapes, preset shapes, and text.


2 thoughts on “The Frame Tool in PaintShop Pro”
Hi Carol, it is really a nice tool. It save a lot of work in my project. You already indicated that you can adjust the shape, but is it also possible to add a border or a photo frame for example?
To that particular layer group, no, you can’t add a frame, however, if you have a frame, you can add it to a layer above it and it will display just fine. So maybe you will want to do it in reverse: place the frame you want to use, then select the area with the Frame tool to just have the correct sizing for the photo to embed after.