
Photographers have been able to adjust their camera settings to take great photos with a focus on their subject while the rest is purposefully out of focus. However, we don't all have a camera with that capability or we just happen to have a photo that could use that effect, but it is too late to take it again. With PaintShop Pro, we can recreate that selective focus (a feature available since version X4).
Choose your photo
There are two types of focus available with this tool and although you can use any photo to apply this effect, the end result will vary depending on the photo you are using.
Planar Selection tool
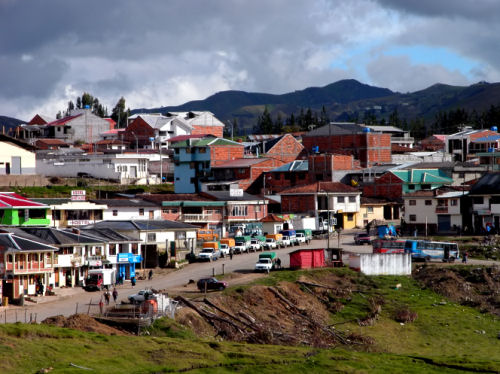
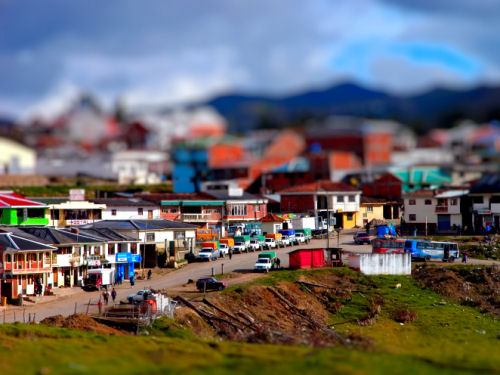
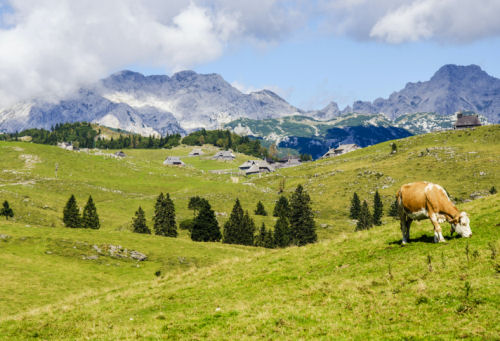
This effect will look best with a photo of a wide area that shows some parts in the foreground (close to you) and some parts in the background (far from you). Here is an example of a photo I will use.
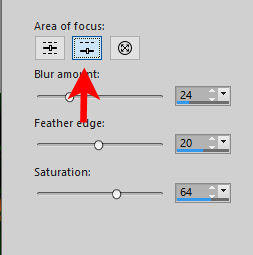
Let's activate the Selective Focus tool.
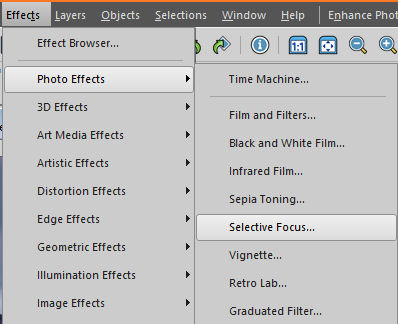
Then, you will be presented with this new screen.
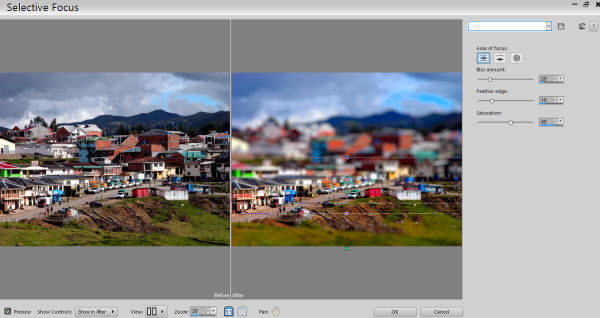
The "after" pane includes several lines (in this case, the Area of Focus is set to Planar Selection Tool).
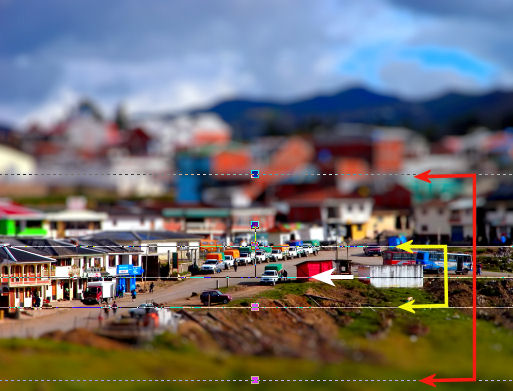
The white arrow indicates the center of the focus. You can move that line to showcase the area you want. You can align it on a specific element, object, or person on your photo.
The yellow arrows will delimitate the area that will be in focus. Moving one will move the other one in a symmetric way. This allows you to have a thinner or thicker focussed area.
The red arrows indicate where the maximum blur effect will take place. You can decide if you want the blur to change slowly by moving this line further from the ones indicated in yellow. Just like the previous lines, moving one will move the other one symmetrically.
And this is the end result once I applied that effect.
This effect can also be applied vertically. When you look at those guides, you will see a handle that, when you hover over it, indicates that you can rotate it. This what I will do for this photo:
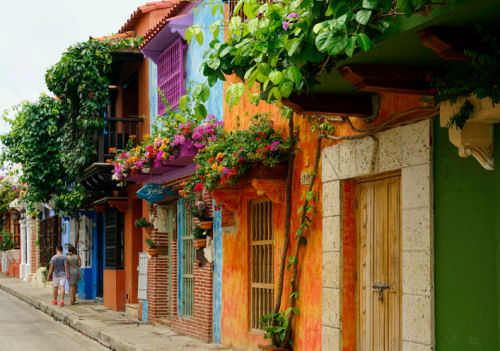
Here, I will not only rotate the guides but also change for the Half Planar Selection Tool here:
This particular option will only give me one of the pairs of lines as it likely assumes that your selection will not be between two blurred areas but instead, will be on one edge, which is what I want to do with the photo.
This is what I will be getting.

And the end result will be this:
Radial Selection tool
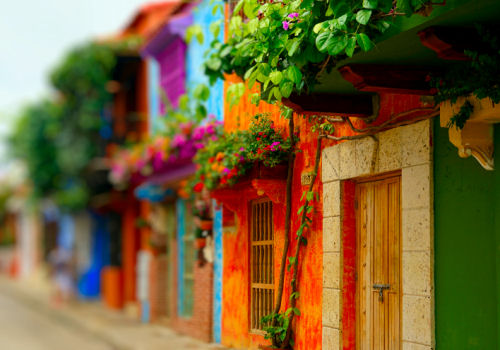
In addition to the Planar and Half Planar areas, you also have the option for Radial, which will create a similar area of focus but circular (or elliptic) instead of linear. You can use this if you want to focus on a specific subject on your photo. I will be using this image:
I will focus on the cow. The Area of focus is changed here:
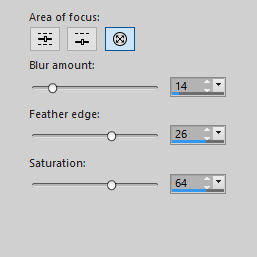
Although the different sections between focus and non-focus are similar, but in a circular shape, I noticed that the outer line could not be dragged in or out, but instead, I could tweak its placement by adjusting the Feather edge slider. Just like the Planar and Half Planar options offer the ability to rotate the selection, so does the Radial one. Furthermore, you can turn the default circle to an ellipse.

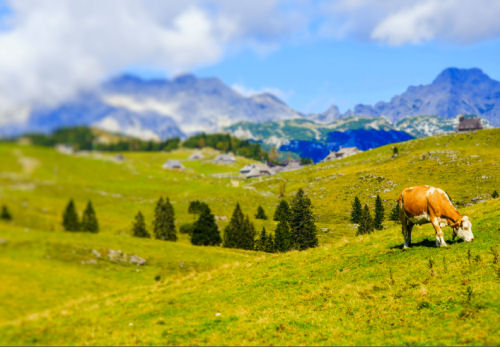
And here is the final result.
Have you explored this tool yet? Give it a try and show us what you did by posting in the forum.


1 thought on “Selective focus in PaintShop Pro”
never noticed in the menu, I just followed turorials that I found on the internet, and far too little tried out all the options in the menus, after quite a number of years I am now learning the so many possibilities of PSP