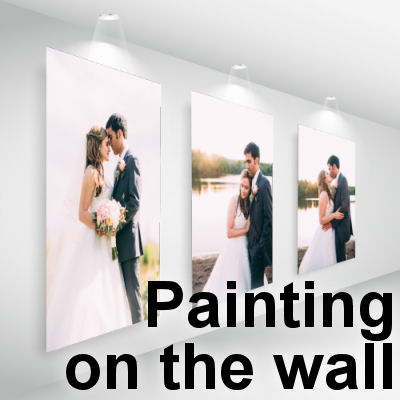

Using PaintShop Pro, you can create environments that are not real, but can still be realistic. Some templates can be found, online, where you would just have to add your own photos or designs to create a 3D room or element. The trick is to use the Pick tool correctly.
Find a base image
I found this room template on Freepik. You can download it to on this page.

Pick your photos
Notice that in this example, the areas are meant to be vertical images, so don't try to use a horizontal one for this. I picked 3 photos of my daughter's wedding. Also, make sure you don't choose photos that are smaller than the area you want to use them on,
Resize the first photo
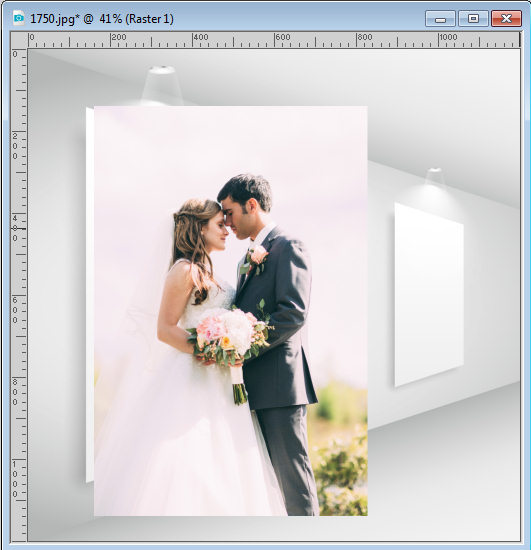
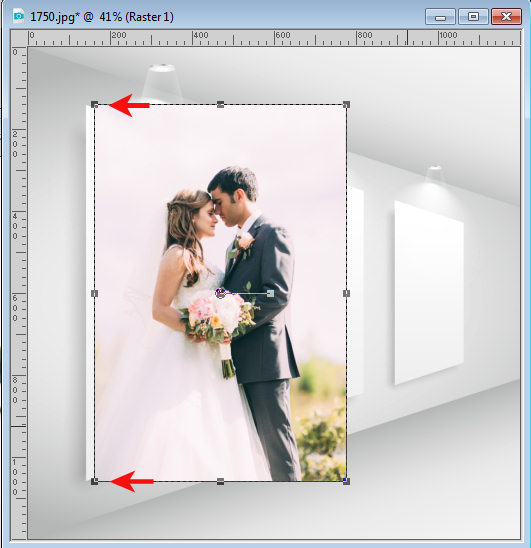
The first thing would be to roughly resize your photos to match the largest area. If it is too large, it will be harder for you to use the pick tool. In this example, I resized the first picture to about 1000 pixels in height, copied and pasted it as a new layer.
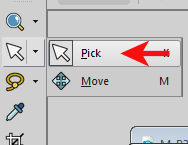
Activate the Pick tool.
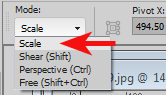
In the toolbar settings, set the Mode to Scale.
Using a corner handle, resize the photo until the height matches the space available.
Adjust the perspective
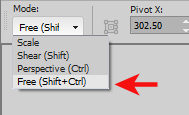
At this point, you will need to match the perspective of the photo to the space on the wall. Change the Mode to Free.
Once you move the photo to perfectly match the left side of the "frame", you can use the handles on the right side of the photo to match the corners on the right side.
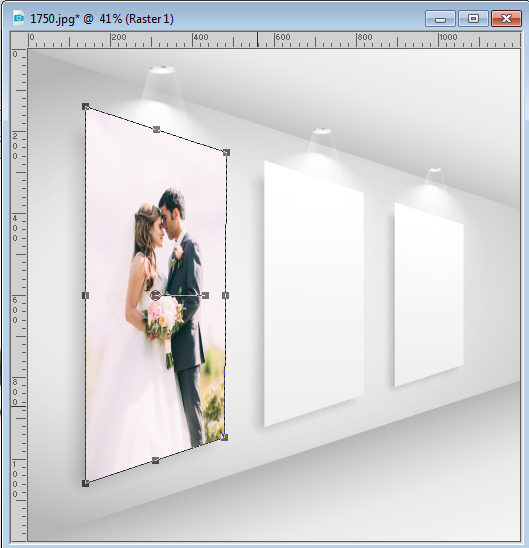
Repeat
In this example, there is room for 3 pictures. Let's repeat the same steps with the other two to get a complete wall display.

What other perspective bases will you find to display your photos?


7 thoughts on “Painting on the wall”
Where is the tutorial for Diamond members to create your own wall? I looked and gave up on finding it and just did it on my own.
There is no class specifically on creating that room, but there are classes on Perspective would be the base for this approach. Here are the links:
https://scrapbookcampus.com/master-classes/question-of-perspective/
https://scrapbookcampus.com/master-classes/question-of-perspective-2/
Snagged and utilized … result in WAYWOIJuly. Thanks Cassel!
Please disregard my previous question. I tried this method and it actually worked better for the pic I used. Thanks. 🙂
I downloaded the template from Freepik, too. Quick question…wouldn’t you get a smoother result from copying into a selection or would you get the same result?
What a great template, I’m going to download it. Another awesome way to showcase photos. Thank you!
Nice find! Going to snag now.