

Whether you are doing scrapbooking, cards, or collages, you might want to extract a particular element from a photo to use separately as a decoration. There are multiple ways to select the outline of an element. You can use the Magic Wand or the Object Extractor. What tool you will use will depend on various factors. What type of element do you need to extract? and the background that needs to be removed. However, there is one lesser-known technique that is easier to use than most of the others.
The starting image
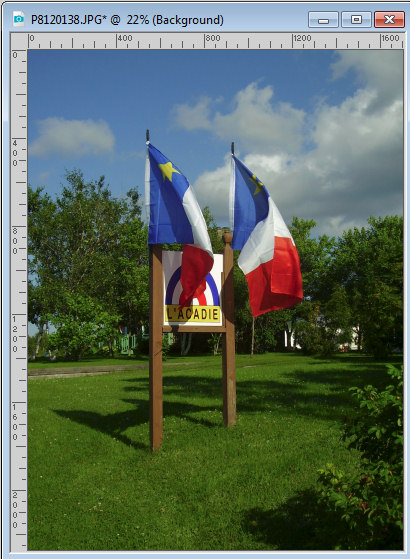
For this demonstration, we will be using this image where the flags will be extracted from the background.
Traditionally, one could consider using the Point to Point selection tool, and since this element has some straight lines, it might be feasible. But let's looks at a different approach.
Edit selection
There is an icon in the Layers Palette to let you edit a selection.
![]()
If you had a selection, that area would have turned pinkish but here, you have no selection yet. What you should notice, however, is that there is now an additional layer in the Layers palette, that is all black and is named Selection.
From this point on, whatever is black, is NOT selected. So in order to add a selection, you will paint it in white.
Brush the selection
Activate the Brush tool set to a regular round shape, and a size that matches the element you want to extract. You can start with a larger brush and use a smaller one later.
As you start painting in white over the area you want to select, you will notice that area turning pink. That is exactly what you want. Continue painting in white all over the area you want to extract. If you make a mistake and you painted outside of the edge, simply paint back in black, which will remove that selection.
This way to select is the same as when you paint with the Brush (in fact, you are!) so if you have a straight line to select, you can click at one end, hold the SHIFT key and click at the other end and it will create a straight line between those two clicks.
Edit the Selection
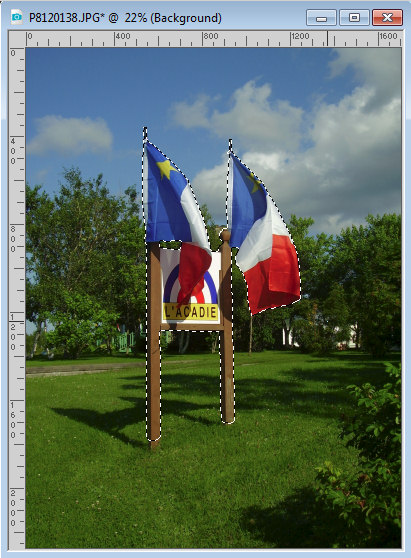
Once you are done painting all the areas you wanted to extract, click on the Edit Selection icon again. Now, that white section you painted will become an actual selection with the familiar "marching ants".
Fine tuning
If you want a perfect result, you will want to zoom in and check your selection. If you see some marching ants where there shouldn't be any, it means that you might have just missed a few spots.

How to fix this will depend on the size or location of these missed spots. You could simply use the Freehand selection tool and, holding the Shift key, you can circle around the missing spots, or you can go back to use the Edit Selection and paint on the area.
Extract it
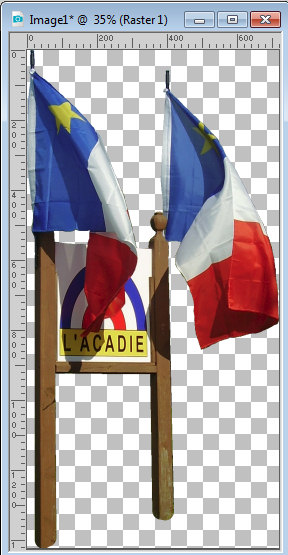
Now, it is time to either remove the background or copy your selected area and paste as a new image.
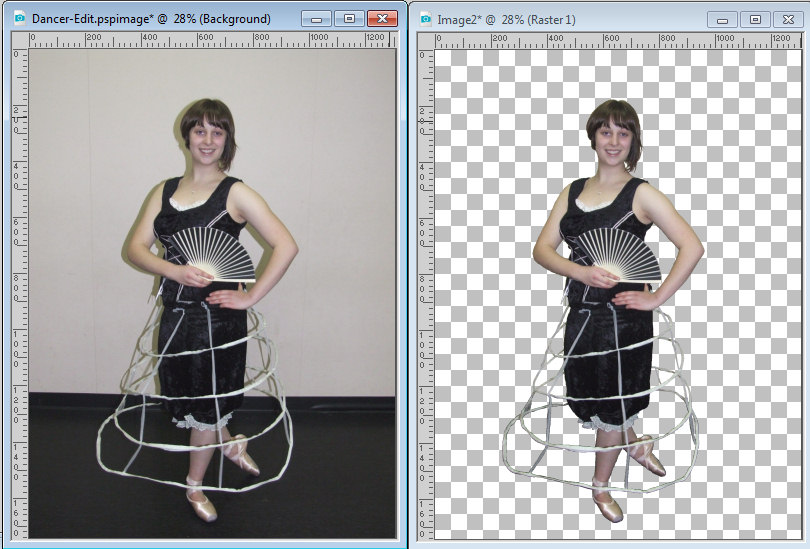
Other challenges
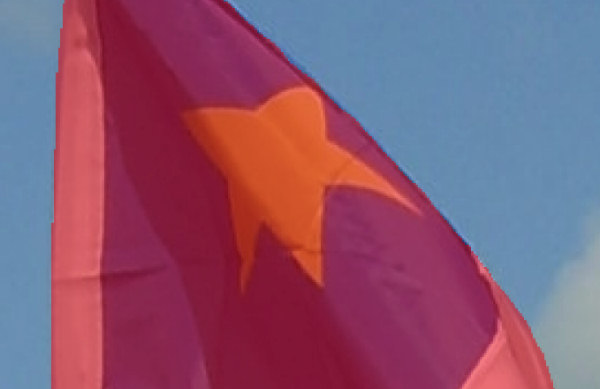
Although this technique is not the only one, it seems to be the most flexible to use in just about any situation (unless you have a solid color background where you can just use the Magic Wand, but that is not common). Check out this example of a photo where this technique was the only option available.
For more techniques to extract elements from pictures, whether they are simple or complex, check out our two classes on the topic: Basic Extractions, and Advanced Extractions.


3 thoughts on “A simple way to extract elements”
Wow, I can’t believe how easy this was! Thank you for this tut!
Dear Carole, Once again you have blown me away. I didn’t know this extraction method even existed, and it works much more easily than the others I’ve been using. I do extractions quite often, so this is a real help.
Thank you so much, Annette
Glad it can help. Extraction tools are numerous, and no one tool is perfect for all the situations, but some tools seem to be generally easier on ordinary projects. This is my favorite. It might become yours too!